
We all know about Skype for Business, but do we know how we can best leverage the recording features for training videos and the like? The instructions below will help with this!
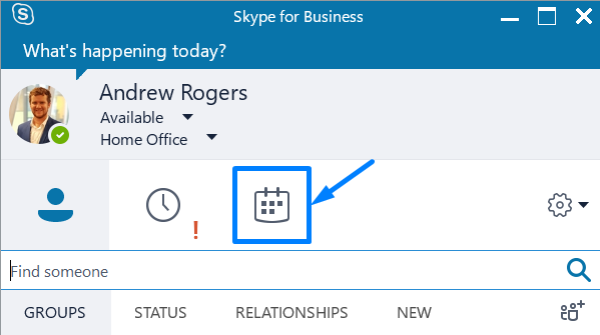
- Open Skype for Business and choose the Calendar button.
- Click the Meet Now button.

- Keep the default Use Skype for Business and click OK. These settings can be changed later.

- Once the conference call has been commenced, open the PC Monitor button and select Share your Desktop.

- Now that your desktop is being shared, select the ellipsis button and choose Start Recording.

- Your screen and audio will start recording.

- Once finished, click the stop button.

- You will be presented with the below notification(s) and the recording will begin to be converted.

- Once the conversion is complete, you will get a notification.

- Alternatively, to check the progress, open your system tray and select Skype for Business Recording Manager

- Depending on the duration of your recording, this could take some time.

- Once complete, you’ll have a high quality MP4 video to share with the team or client!


Mitchell Day
/ March 27, 2018Thanks Andrew! Really helpful “hack”
Norman Dimmick
/ July 9, 2019very nice submit, i actually love this website, carry on it
Maria Melcer
/ July 13, 2019Great post, I conceive website owners should learn a lot from this website its rattling user friendly.